


Yet another tutorial on self-hosting :-(
I suppose this is a new beginning. I have been looking into self-hosting for quite some time and have tried some applications mainly on my Pi. Each time I configure something, the only problem is it doesn't last. I always reset those changes to default and start from beginning. Now for a change I am trying to document all these things and help others like me who are starting their journey.

All we need to start self-hosting is an infrastructure and lot of patience. That's right we need a lot of patience sometimes. All these applications that we use on the internet are hosted somewhere, they are made accessible without any disruption for the user. Similarly we need server to store and access our data. This can range form a spare PC you have lying around, a Raspberry Pi(Its crazy what people now a days do with one of these 😅), etc. As you level-up in this journey you can build something more powerful.
Day 1
For this series I am using a free virtual machine from Oracle Cloud with Ubuntu 22.04, 4 vCPU and 24 GB RAM. Since I need this setup to be 24*7 online (max uptime), I couldn't opt for Pi considering my electricity and network providers. Boot volume has around 100 GB, which is more than enough. But I still confused about all these free tiers. Still I am going with this setup forward. These are some things I looked forward while setting up the server,
- Setting hostname -> mine is mark-one (first Iron-Man suit 🔥)
- Adding SSH key
- Open ports -> By default the security group only allows SSH
One more thing I did was adding my server's IP address to host files. This can help us thought the setup, starting from SSH. I am using a Linux system, SO the command to edit the host file was,
sudo nano /etc/hosts
Add the following line and save the changes.
<public-ip> <hostname>

#Example
1.1.1.1 mark-one
Now lets connect to mark-one (our server),
ssh username@servername
As you can see above I am not specifying anything about my ssh key. I already have added my key to KeepassXC and this helps me save a lot of trouble. Let me know how you guys manage SSH keys.
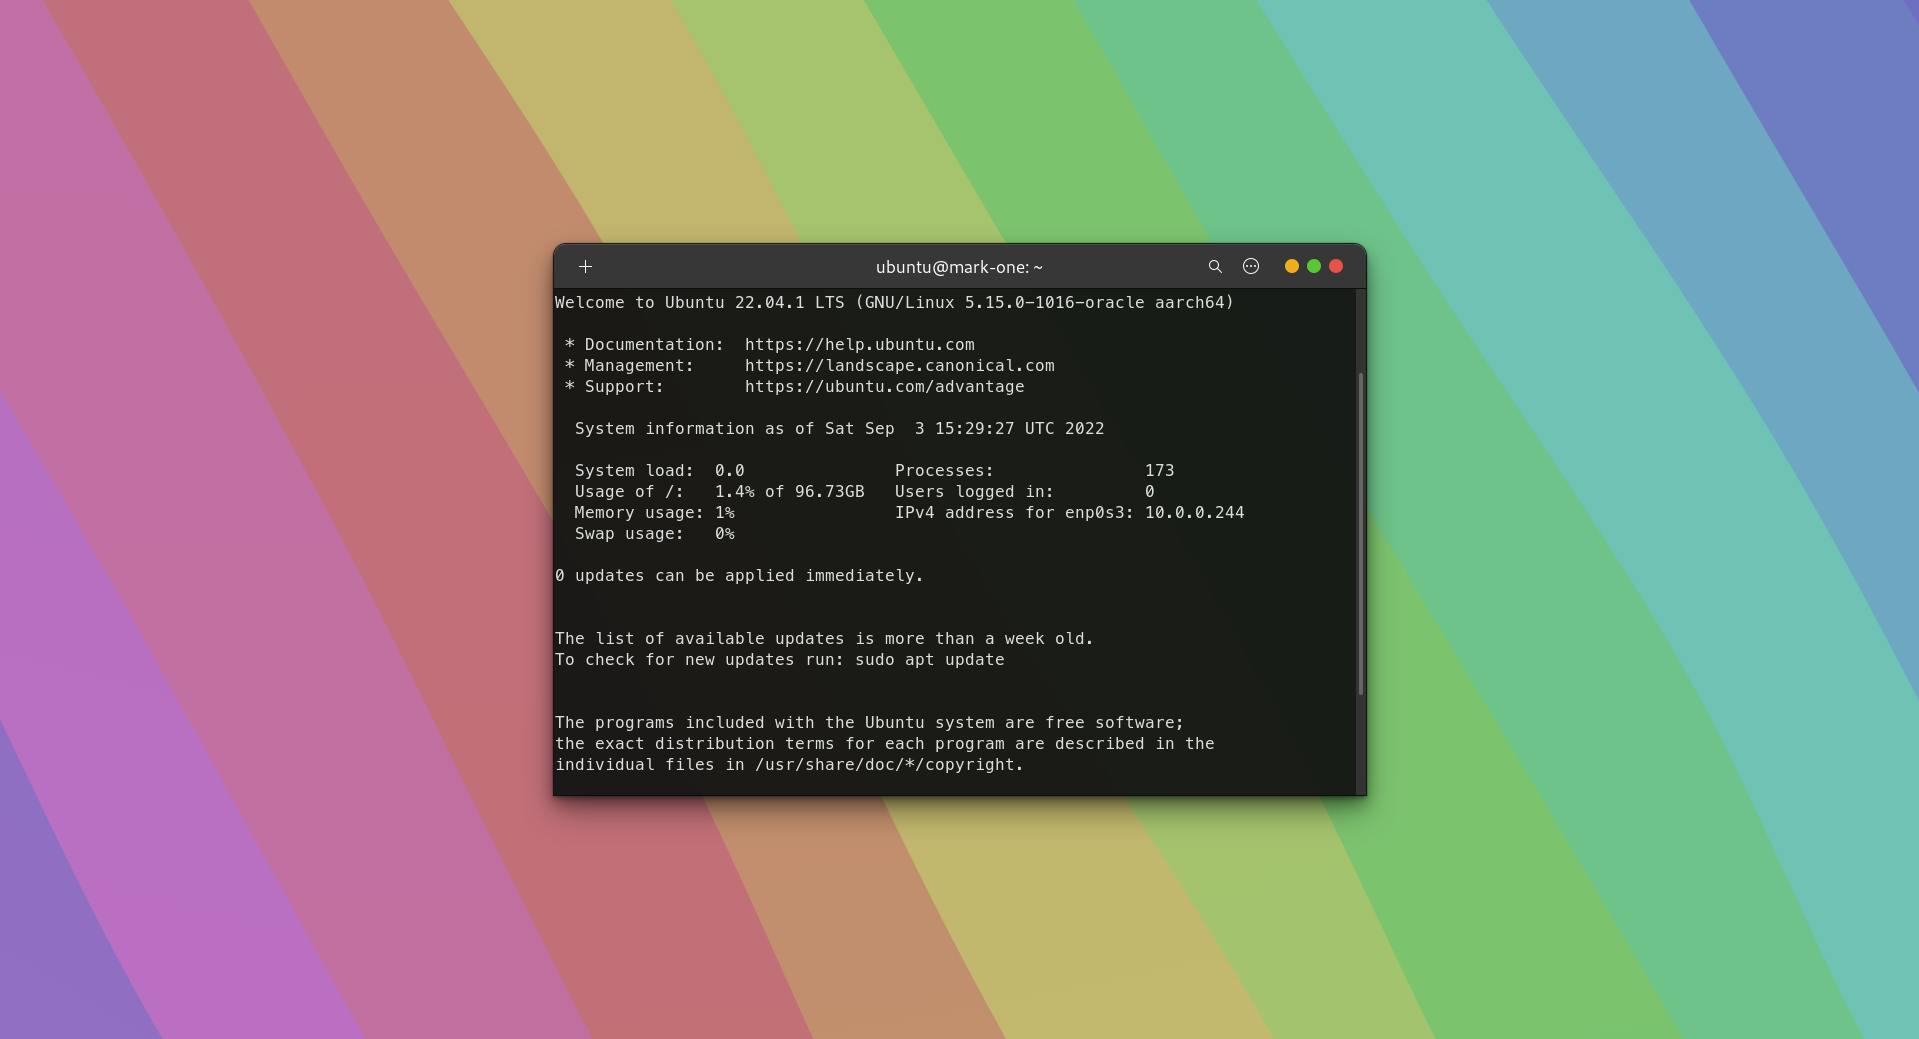
First login 👌
Since this is a fresh install I am going to update and restart the server. Once that's done we are good to go.
sudo apt update
sudo apt upgrade
sudo reboot
Now what?
I will be using this server for installing different opensource projects and to simplify all those installs the best way is to install Docker. Most projects nowadays have docker support and it has become a standard practice (Is it? 🤔).
curl -fsSL https://get.docker.com -o get-docker.sh
sudo sh get-docker.sh
The above commands will automatically install docker into your system, assuming you have sudo access.
sudo groupadd docker
sudo usermod -aG docker $USER
Adding current user to docker group can remove the use of 'sudo' while using docker commands.
To simplify complex installations, we use docker compose. This is helpful in defining containers inside a yaml file and deploying it.
sudo apt install docker-compose
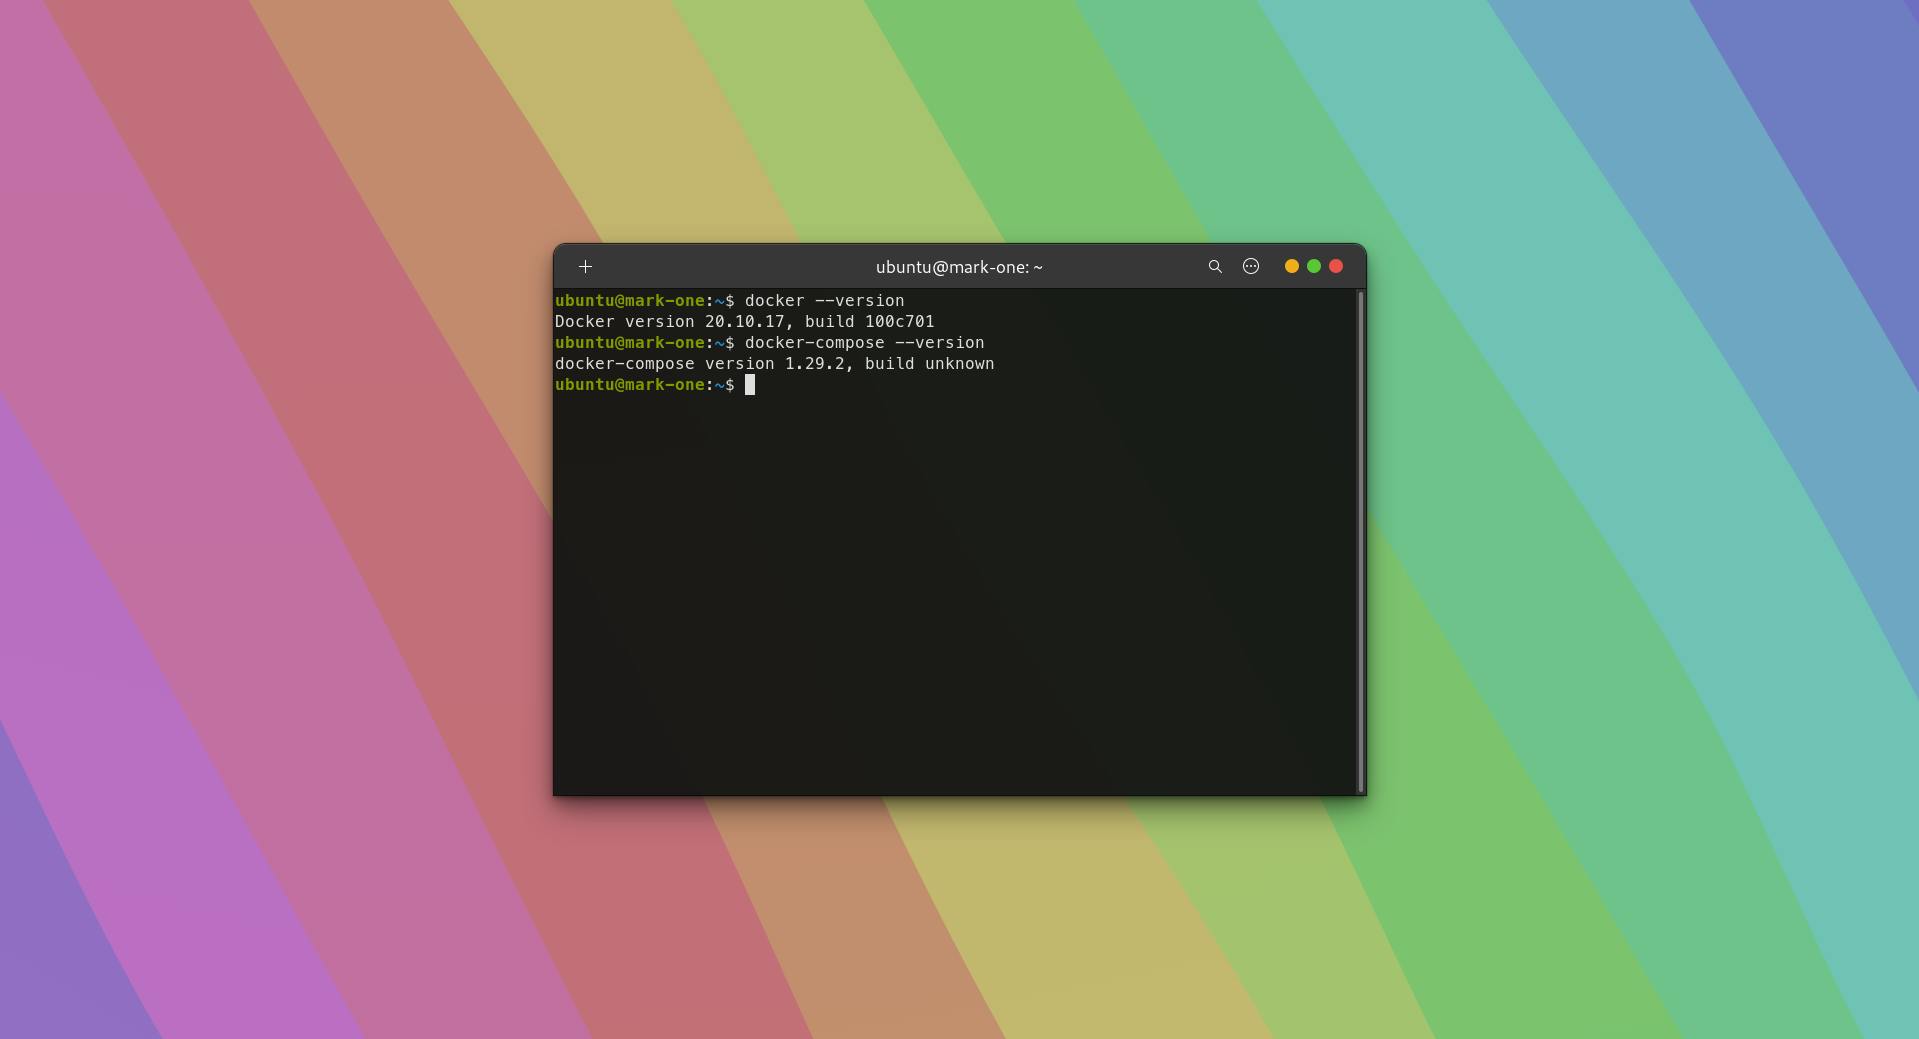
Finally verifying all these installations,
Let's start a blog
Since I don't want to spend a lot of time managing the setup, I decided to start this blog using Ghost CMS. This the docker-compose file for a minimal installation,
version: '3.3'
services:
    ghost:
        container_name: ghost-blog
        environment:
            - NODE_ENV=development
            - 'url=https://<add-your-domain-name>'
        ports:
            - '3001:2368'
        volumes:
            - 'ghost-data:/var/lib/ghost/content'
        image: ghost
volumes:
    ghost-data:
Save this file as docker-compose.yml inside a folder and run the following command to spin up your container.
docker-compose up -D
I checked the logs and active containers to see the status of our new blog, since we haven't opened any ports for the VM.
docker ps -a
List all containers
or
docker logs ghost-blog
logs for specific container
Let's talk about how to access this blog.
My initial thought was setting up a reverse proxy like Nginx Proxy Manager. But for a simple setup, I decided to go with cloudflare tunnels. All the configurations for this are done inside the cloudflare dashboard, except the cloudflared connector installation
curl -L --output cloudflared.deb https://github.com/cloudflare/cloudflared/releases/latest/download/cloudflared-linux-arm64.deb &&

sudo dpkg -i cloudflared.deb &&

sudo cloudflared service install <replace-this-with-your-tocken>
Finally
We were able to setup a server, install docker and start our own blog. In future we will be discussing more about different applications and ways to improve this setup. Which all applications should we install? Let me know In the comments.